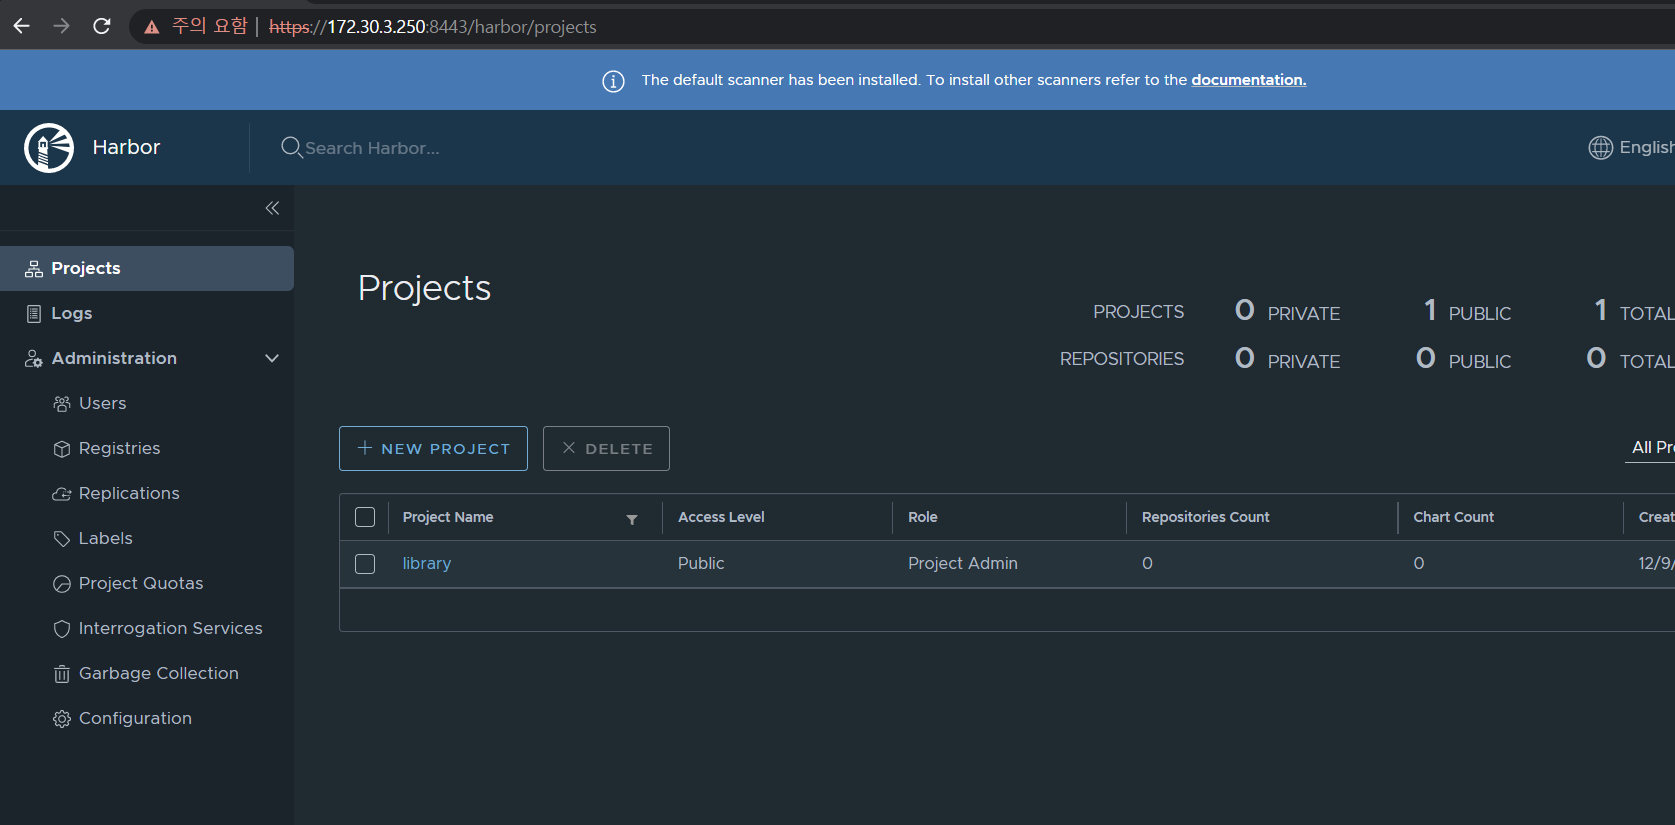
지난 harbor 설치는 k8s에 helm으로 설치 하는 방법이였으나, 이번엔 docker-compose를 사용하여 작성하였다
docker-compose 란?
여러 개의 컨테이너로부터 이루어진 서비스를 구축, 실행하는 순서를 자동으로 하여, 관리를 간단히하는 기능
1. harbor 설치
1) docker 설치
# yum install -y yum-utils
# yum-config-manager --add-repo https://download.docker.com/linux/centos/docker-ce.repo - >도커 repo등록
# yum install docker-ce docker-ce-cli containerd.io -> 도커 설치
# systemctl start docker && systemctl enable docker
2) docker-compose 설치
# curl -L "https://github.com/docker/compose/releases/download/1.25.5/docker-compose-$(uname -s)-$(uname -m)" -o /usr/local/bin/docker-compose -> 도커 compose 설치
# chmod +x /usr/local/bin/docker-compose -> 도커 compose 권한 등록
3) harbor install
# wget https://github.com/goharbor/harbor/releases/download/v2.0.0/harbor-online-installer-v2.0.0.tgz -> habor 다운
# tar xf harbor-online-installer-v2.0.0.tgz -> 압축해제
4) Certificates 설정
| 1. Root CA 키 생성 # openssl genrsa -out ca.key 4096 2. Root CA의 비밀키와 짝지을 공개키 생성 # openssl req -x509 -new -nodes -sha512 -days 3650 -key ca.key -out ca.crt 3. Server Key 생성 # openssl genrsa -out server.key 4096 4. Server의 csr 파일 생성 # openssl req -sha512 -new \ -key server.key \ -out server.csr 5. SAN등록 # cat > v3.ext <<-EOF subjectAltName = @alt_names [alt_names] IP.1=172.30.3.250 IP.2=127.0.0.1 EOF # openssl x509 -req -sha512 -days 3650 \ -extfile v3.ext \ -CA ca.crt -CAkey ca.key -CAcreateserial \ -in server.csr \ -out server.crt 7. docker Certifacate 등록 # mkdir -p /etc/docker/certs.d/server/ # cp server.crt /etc/docker/certs.d/server/ # cp server.key /etc/docker/certs.d/server/ # cp ca.crt /etc/docker/certs.d/server/ 8. docker 재시작 # systemctl restart docker |
5) harbor deploy
# cd harbor
# cp harbor.yml.tmpl harbor.yml
# vi harbor.yml (수정)
| …… hostname: <ip주소> …… https: # https port for harbor, default is 443 port: 8443 # The path of cert and key files for nginx certificate: /data/cert/harbor-registry.com.crt private_key: /data/cert/harbor-registry.com.key …… harbor_admin_password: password1! |
# ./prepare --with-trivy --with-chartmuseum (trivy scanner와 helm chart 저장소도 함께 설치)
# docker-compose up -d
2. web page 접속 및 이미지 업로드
1) web page 접속
https://172.xxx.xxx.xxx:8443 접속 (비밀번호는 yml에 수정한 것으로 로그인)


2) 이미지 업로드를 위한 docke login (daemon.json 수정)
# docker login 172.30.3.250:8443

# vi /etc/docker/daemon.json (아래 insecure 입력)
| { "insecure-registries": ["172.30.3.250:8443"] } |

# systemctl restart docker
# docker login 172.30.3.250:8443

3) image upload
# docker images

# docker tag nginx:1.14.2 172.30.3.250:8443/library/nginx:1.14.2 (이미지 tag 변경)
# docker images

# docker push 172.30.3.250:8443/library/nginx:1.14.2

# web page에서 확인

이렇게 harbor 설치와 image를 넣는 방법에 대해 알아 봣다
'Kubernetes > Kuberenetes 설치' 카테고리의 다른 글
| Jenkins 설치 (yaml) (0) | 2022.12.09 |
|---|---|
| Harbor 설치 (helm) (0) | 2022.12.08 |
| Istio 설치 (0) | 2022.12.07 |
| Ingress 설치 (0) | 2022.12.05 |
| Monitoring 구축 (prometheus, grafana) (0) | 2022.12.02 |
