jenkins란?
젠킨스는 Open Source CI (Continuous Integration) 툴
1. jenkins 설치
1) namespace 생성
# kubectl create namespace jenkins
2) jenkins yaml 작성
# vi jenkins-deploy.yaml (service type은 NodePort로 우선 진행)
| apiVersion: apps/v1 kind: Deployment metadata: name: jenkins-leader namespace: jenkins spec: replicas: 1 selector: matchLabels: app: jenkins-leader template: metadata: labels: app: jenkins-leader spec: serviceAccountName: jenkins securityContext: # Jenkins uid:gid=1000:1000 fsGroup: 1000 containers: - name: jenkins-leader image: jenkins/jenkins:lts volumeMounts: - name: jenkins-home mountPath: /var/jenkins_home ports: - containerPort: 8080 volumes: - name: jenkins-home #persistentVolumeClaim: #claimName: jenkins-leader-pvc hostPath: path: /jenkins type: Directory #pvc를 생성하시려면 따로 작성 --- apiVersion: v1 kind: Service metadata: name: jenkins-leader-svc namespace: jenkins labels: app: jenkins-leader spec: type: NodePort ports: - port: 80 targetPort: 8080 protocol: TCP name: http nodePort: 30000 selector: app: jenkins-leader |
3) rbac , service account 생성
# jenkins-sa-clusteradmin-rbac.yaml
| apiVersion: v1 kind: ServiceAccount metadata: namespace: jenkins name: jenkins --- kind: ClusterRoleBinding apiVersion: rbac.authorization.k8s.io/v1beta1 metadata: name: cluster-admin-clusterrolebinding subjects: - kind: ServiceAccount name: jenkins namespace: jenkins roleRef: apiGroup: rbac.authorization.k8s.io kind: ClusterRole name: cluster-admin --- kind: ClusterRoleBinding apiVersion: rbac.authorization.k8s.io/v1beta1 metadata: name: cluster-admin-clusterrolebinding-2 subjects: - kind: ServiceAccount name: jenkins namespace: jenkins roleRef: apiGroup: rbac.authorization.k8s.io kind: ClusterRole name: cluster-admin |
4) jenkins build
# kubectl apply -f jenkins-deploy.yaml
# kubectl apply -f jenkins-sa-clusteradmin-rbac.yaml
5) jenkins 확인
# kubectl get pod -n jenkins (글쓴이는 istio를 사용했기 때문에 pod가 2/2로 나온다)

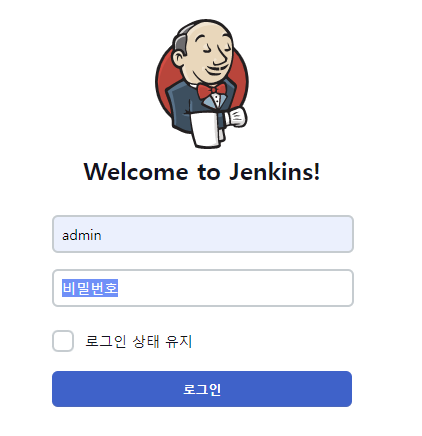
6) web page 접속 ( nodeport에 30000을 입력해 놓았으므로 172.xxx.xxx.xxx:30000 으로 접속 한다

7) 비밀번호 추출
# kubectl exec –it [Jenkins pod 명] cat /var/jenkins_home/secrets/initialAdminPassword -n jenkins
(ex) 6d22522a2bf6441681ea4a10f6244954
2. k8s 등록
1) 플러그인 설치
jenkins 관리 -> 플러그인 관리 -> kubernetes 설치 (글쓴이는 이미 설치해서 안나오지만 kubernetes 로 나온다)

2) k8s 연동
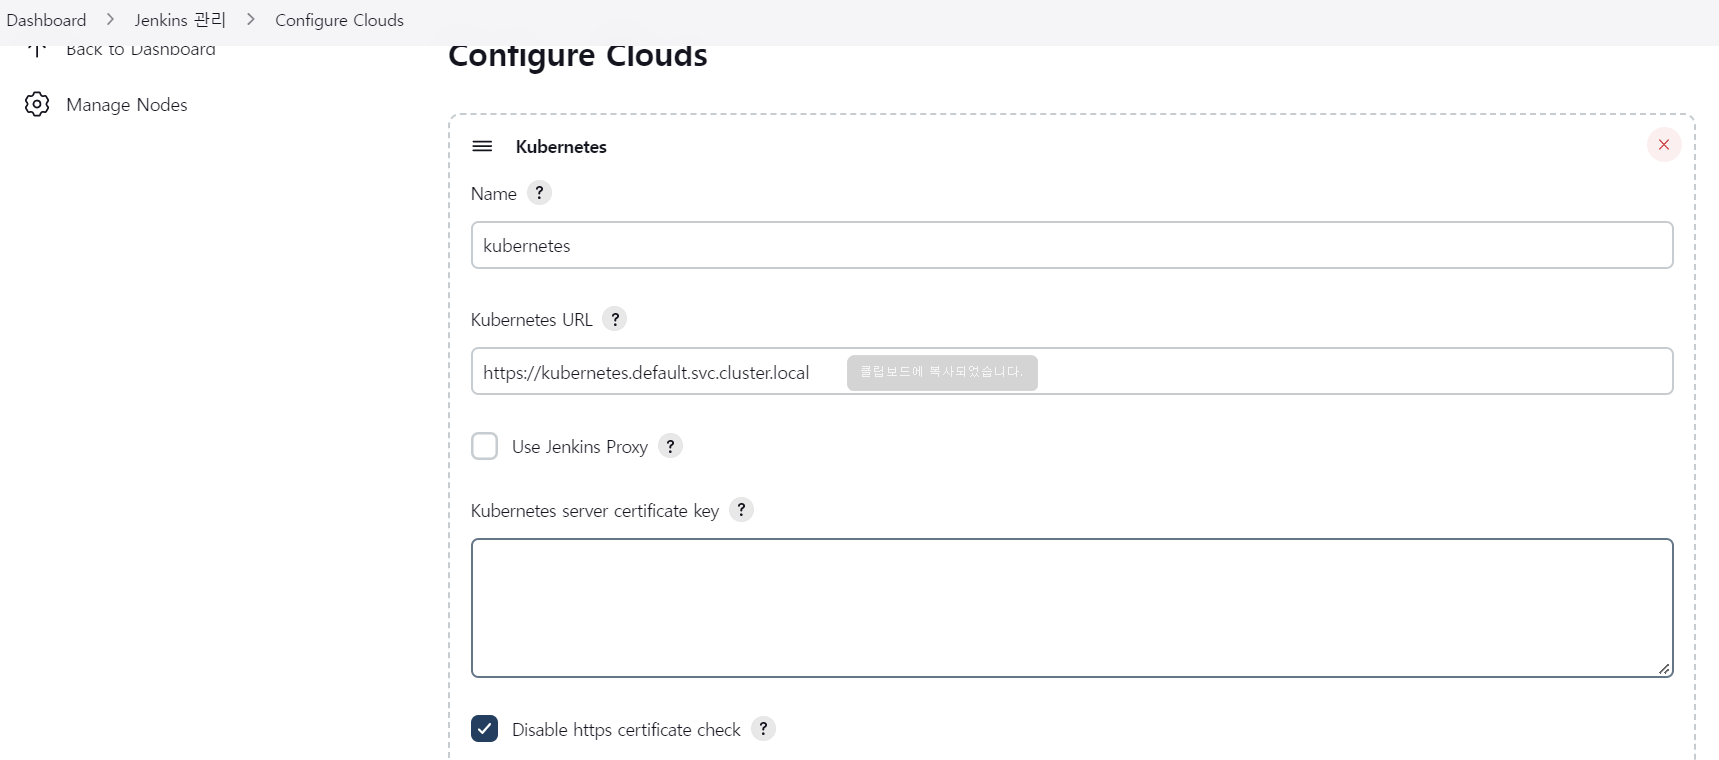
jenkins 관리 -> node 관리 -> configure clouds

Name : kubernetes
Kubernetes URL : https://kubernetes.default.svc.cluster.local
Disable https certificate check : 체크
Kubernetes Namespace : jenkins (jenkins 가동 ns 입력)
Credentials : add -> Jenkins -> kind 부분 Kubernetes Service Account 선택 -> add
-> -none-부분을 Secret text 변경 -> Test 클릭\
Jenkins URL : http://jenkins-leader-svc.jenkins.svc.cluster.local
3. 예제 pipe line
1) pipeline 생성
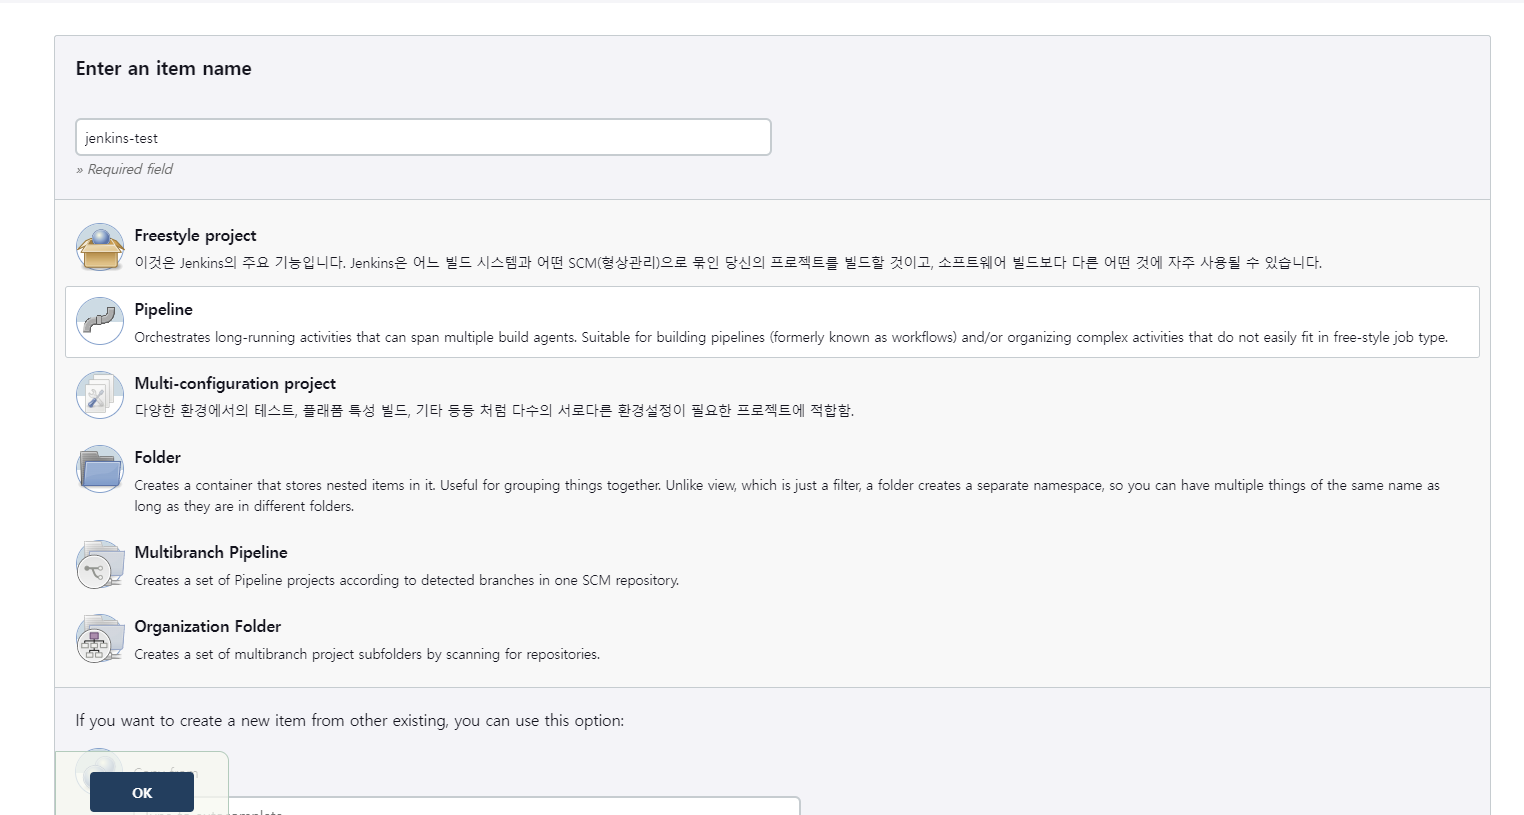
새로운 item -> Pipeline 선택/item name 설정

2) pipeline script 작성
| podTemplate(label: 'builder', containers: [ containerTemplate(name: 'gradle', image: 'gradle:7-jdk8', command: 'cat', ttyEnabled: true), ]) { node('builder') { stage('Build') { container('gradle') { sh "echo pipeline test" } } } } |

3) build now 진행 및 결과 확인


이렇게 jenkins 설치는 완료 되었다. git과 연동해서 사용을 해보도록 하잣
'Kubernetes > Kuberenetes 설치' 카테고리의 다른 글
| harbor 설치 (docker-compose) (0) | 2022.12.09 |
|---|---|
| Harbor 설치 (helm) (0) | 2022.12.08 |
| Istio 설치 (0) | 2022.12.07 |
| Ingress 설치 (0) | 2022.12.05 |
| Monitoring 구축 (prometheus, grafana) (0) | 2022.12.02 |
